用Expressjs创建RESTFul API(Swagger自动生成文档)

作为一名懒人,我想说这可能是我找到的最方便的为expressjs实现swagger OpenAPI档的方法了,此前使用过两个方案:
一是用swagger-autogen的插件每次都需要使用npm run swagger-autogen命令来为路由生成.json文件。
二是swagger-jsdoc和swagger-ui-express,需要在路由最顶部用yaml格式按照要求很严格地编写结构,如下所示,我本人很厌恶yaml这种苛刻的书写格式,很多人因为缩进的关系会导致出错,而且需要在顶部书写,如果代码多了需要来回切换更改,非常棘手。
/**
 * @swagger
 * components:
 *   schemas:
 *     Book:
 *       type: object
 *       required:
 *         - title
 *         - author
 *         - finished
 *       properties:
 *         id:
 *           type: string
 *           description: The auto-generated id of the book
 *         title:
 *           type: string
 *           description: The title of your book
 *         author:
 *           type: string
 *           description: The book author
 *         finished:
 *           type: boolean
 *           description: Whether you have finished reading the book
 *         createdAt:
 *           type: string
 *           format: date
 *           description: The date the book was added
 *       example:
 *         id: d5fE_asz
 *         title: The New Turing Omnibus
 *         author: Alexander K. Dewdney
 *         finished: false
 *         createdAt: 2020-03-10T04:05:06.157Z
 */
/**
 * @swagger
 * tags:
 *   name: Books
 *   description: The books managing API
 * /books:
 *   get:
 *     summary: Lists all the books
 *     tags: [Books]
 *     responses:
 *       200:
 *         description: The list of the books
 *         content:
 *           application/json:
 *             schema:
 *               type: array
 *               items:
 *                 $ref: '#/components/schemas/Book'
 *   post:
 *     summary: Create a new book
 *     tags: [Books]
 *     requestBody:
 *       required: true
 *       content:
 *         application/json:
 *           schema:
 *             $ref: '#/components/schemas/Book'
 *     responses:
 *       200:
 *         description: The created book.
 *         content:
 *           application/json:
 *             schema:
 *               $ref: '#/components/schemas/Book'
 *       500:
 *         description: Some server error
 * /books/{id}:
 *   get:
 *     summary: Get the book by id
 *     tags: [Books]
 *     parameters:
 *       - in: path
 *         name: id
 *         schema:
 *           type: string
 *         required: true
 *         description: The book id
 *     responses:
 *       200:
 *         description: The book response by id
 *         contens:
 *           application/json:
 *             schema:
 *               $ref: '#/components/schemas/Book'
 *       404:
 *         description: The book was not found
 *   put:
 *    summary: Update the book by the id
 *    tags: [Books]
 *    parameters:
 *      - in: path
 *        name: id
 *        schema:
 *          type: string
 *        required: true
 *        description: The book id
 *    requestBody:
 *      required: true
 *      content:
 *        application/json:
 *          schema:
 *            $ref: '#/components/schemas/Book'
 *    responses:
 *      200:
 *        description: The book was updated
 *        content:
 *          application/json:
 *            schema:
 *              $ref: '#/components/schemas/Book'
 *      404:
 *        description: The book was not found
 *      500:
 *        description: Some error happened
 *   delete:
 *     summary: Remove the book by id
 *     tags: [Books]
 *     parameters:
 *       - in: path
 *         name: id
 *         schema:
 *           type: string
 *         required: true
 *         description: The book id
 *
 *     responses:
 *       200:
 *         description: The book was deleted
 *       404:
 *         description: The book was not found
*/下面进入主题,使用懒人方法express-jsdoc-swagger来实现。关于这个插件更多的使用方法参考链接:https://github.com/BRIKEV/express-jsdoc-swagger
一 安装Express
$ npm install -g express-generator@4
$ express /tmp/foo && cd /tmp/foo
$ npm install
二 安装热启动nodemon
默认情况下Exrepss每次修改文件都需要重新启动应用生,这对开发来说非常不便,这时候我们需要安装nodemon
yarn add nodemon --dev
打开package.json文件,找到scripts并添加"dev": "nodemon app.js",最后文件看起来英国是这样子的
{
  "name": "crud",
  "version": "0.0.0",
  "private": true,
  "scripts": {
    "start": "node ./bin/www",
    "dev": "nodemon app.js"
  },
  "dependencies": {
    "cookie-parser": "~1.4.4",
    "debug": "~2.6.9",
    "express": "~4.16.1",
    "express-jsdoc-swagger": "^1.8.0",
    "http-errors": "~1.6.3",
    "jade": "~1.11.0",
    "morgan": "~1.9.1"
  },
  "devDependencies": {
    "nodemon": "^2.0.22"
  }
}
添加端口配置参数
找到这一行module.exports = app;,在上面添加
app.listen(3003, () => console.log('Listening on port 3003'))这样就可以修改运行端口了。
三 安装express-jsdoc-swagger
npm i express-jsdoc-swagger
安装完成后打开app.js文件,找到var app = express();在下面添加
const expressJSDocSwagger = require('express-jsdoc-swagger');

const options = {
  info: {
    version: '1.0.0',
    title: 'Albums store',
    license: {
      name: 'MIT',
    },
  },
  security: {
    BasicAuth: {
      type: 'http',
      scheme: 'basic',
    },
  },
  // Base directory which we use to locate your JSDOC files
  baseDir: __dirname,
  // Glob pattern to find your jsdoc files (multiple patterns can be added in an array)
  filesPattern: './**/*.js',
  // URL where SwaggerUI will be rendered
  swaggerUIPath: '/api-docs',
  // Expose OpenAPI UI
  exposeSwaggerUI: true,
  // Expose Open API JSON Docs documentation in `apiDocsPath` path.
  exposeApiDocs: false,
  // Open API JSON Docs endpoint.
  apiDocsPath: '/v3/api-docs',
  // Set non-required fields as nullable by default
  notRequiredAsNullable: false,
  // You can customize your UI options.
  // you can extend swagger-ui-express config. You can checkout an example of this
  // in the `example/configuration/swaggerOptions.js`
  swaggerUiOptions: {},
  // multiple option in case you want more that one instance
  multiple: true,
};


expressJSDocSwagger(app)(options);在这里我们以expressjs默认自带路由文件/routes/users.js为例,我们打开它并修改为以下内容:
var express = require('express');
var router = express.Router();

/**
 * GET /users/
 * @summary This is the summary of the endpoint
 * @return {object} 200 - success response
 */
router.get('/', function(req, res, next) {
  res.send('respond with a resource');
});

/**
 * POST /users/
 * @param {string} request.body.required - name body description
 * @return {object} 200 - song response
 */
router.post('/', (req, res, next) => {
    try {
      console.log(req.body);
      return res.send('Hello World!');
    } catch (error) {
      return next(error);
    }
});
module.exports = router;
注意到吗?我们只需要在每个路由上面使用注释的方式写路由和参数即可,是不是很方便?
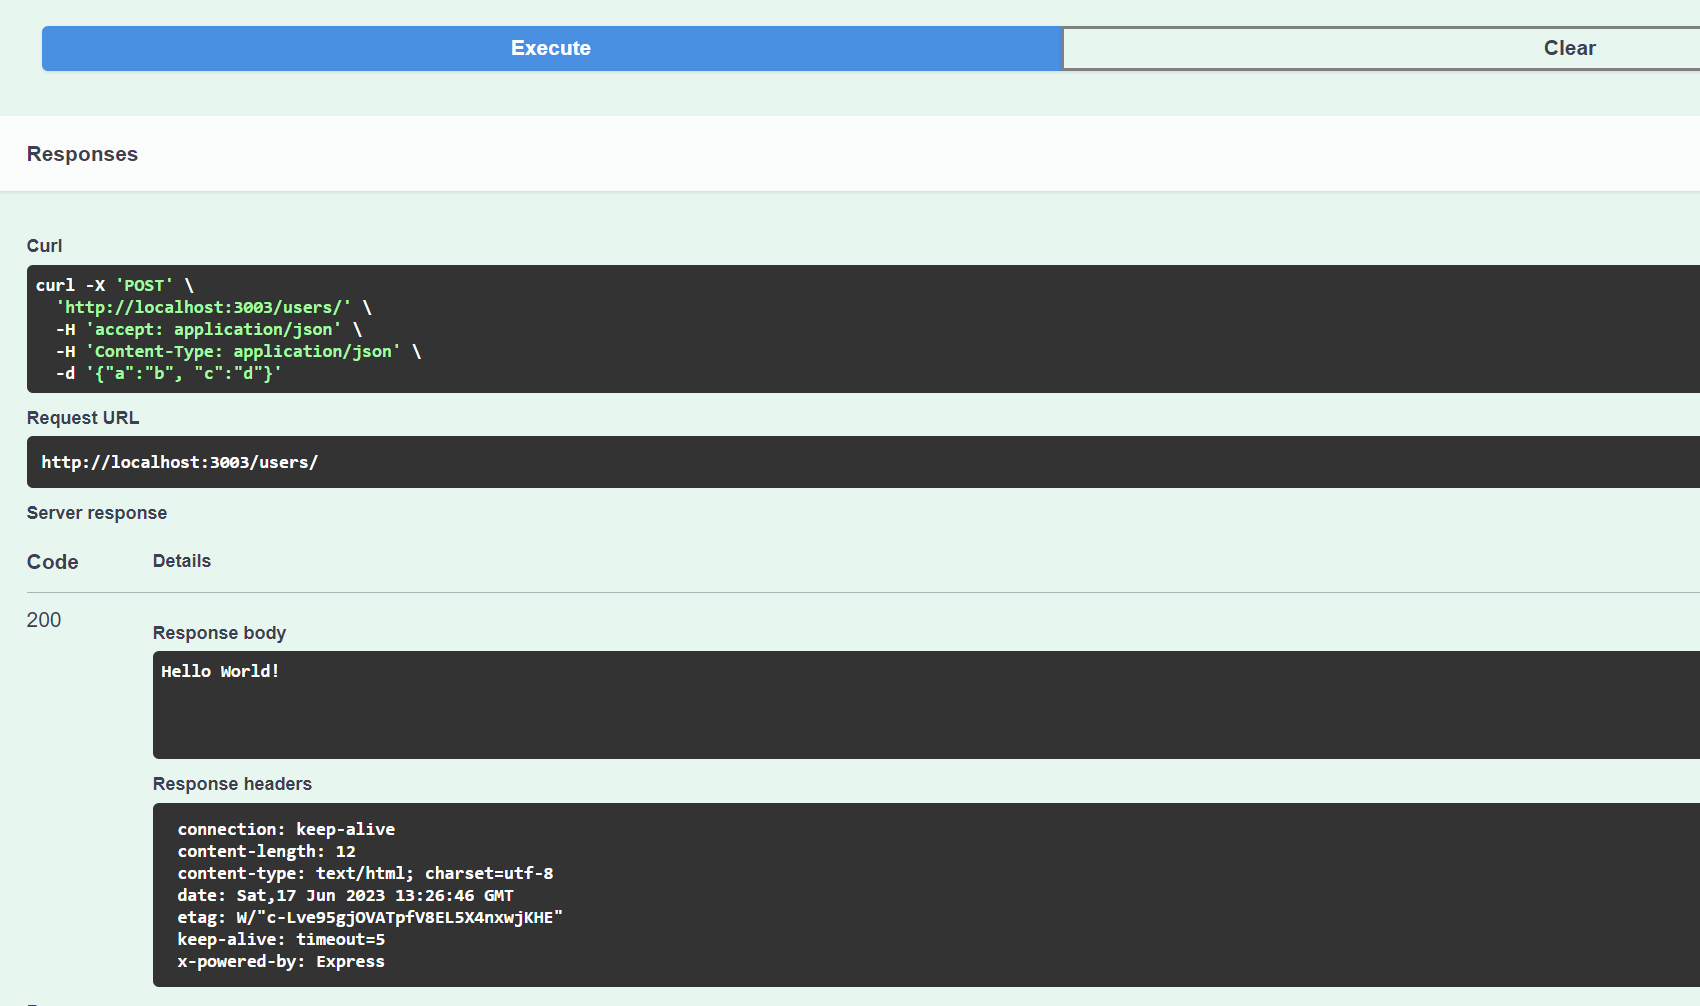
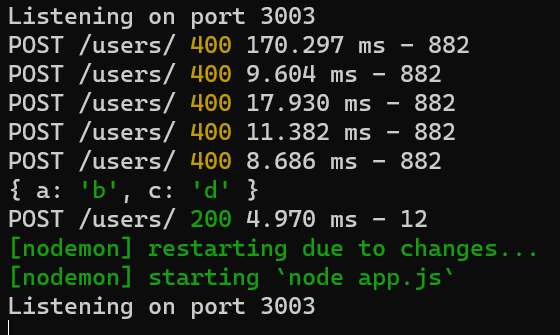
最后保存并使用yarn dev启动应用,并打开 http://localhost:3003/api-docs/看看效果吧。
