在surge免费云主机上部署GatsbyJS静态页面项目
这是继《在Windows10中部署GatsbyJS并输出Hello World!》一文的后续,不知道如何部署GatsbyJS的先翻前文把环境搭建好,能把Hello World跑起来。

本文示例程序演示地址:http://test.towait.com/
核心文件
此文涉及的文件文件根目录“src”下,分别是几下几个文件,由于GatsbyJS的核心技术栈是react,这里笔者就不解释文件中的语法了。
/src/pages/index.js
import React from "react"
import { Link } from "gatsby"
import Header from "../components/header"

export default () => (
  <div style={{ color: `purple` }}>
    <Link to="/contact/">Contact</Link>
    <Header headerText="Hello Gatsby!" />
    <p>What a world.</p>
    <img src="https://source.unsplash.com/random/400x200" alt="" />
  </div>
)
/src/pages/contact.js
import React from "react"
import { Link } from "gatsby"
import Header from "../components/header"

export default () => (
  <div style={{ color: `teal` }}>
    <Link to="/">Home</Link>
    <Header headerText="Contact" />
    <p>Send us a message!</p>
  </div>
)
/src/components/header.js
import React from "react"

export default props => <h1>{props.headerText}</h1>
部署到云主机
官方推荐的是surge,可以免费支持自定义域名及SSL,个人觉得已经很不错了,部署方法
1.安装surge包,并创建账号
npm install --global surge

# Then create a (free) account with them
surge login
创建过程
surge login

   Login (or create surge account) by entering email & password.

          email: [email protected]
       password:

   Success - Logged in as [email protected].
2.发布静态文件并部署至云主机
gatsby build    #编译生成静态文件
ls public    #检查文件
surge public/    #部署到surge中
部署过程,注意域名的配置
surge public/

   Running as [email protected] (Student)

        project: public/
         domain: test.towait.com
         upload: [====================] 100% eta: 0.0s (23 files, 1028761 bytes)
            CDN: [====================] 100%
             IP: 45.55.110.124

   Success! - Published to test.towait.com
3.解析域名
官方文档:https://surge.sh/help/adding-a-custom-domain
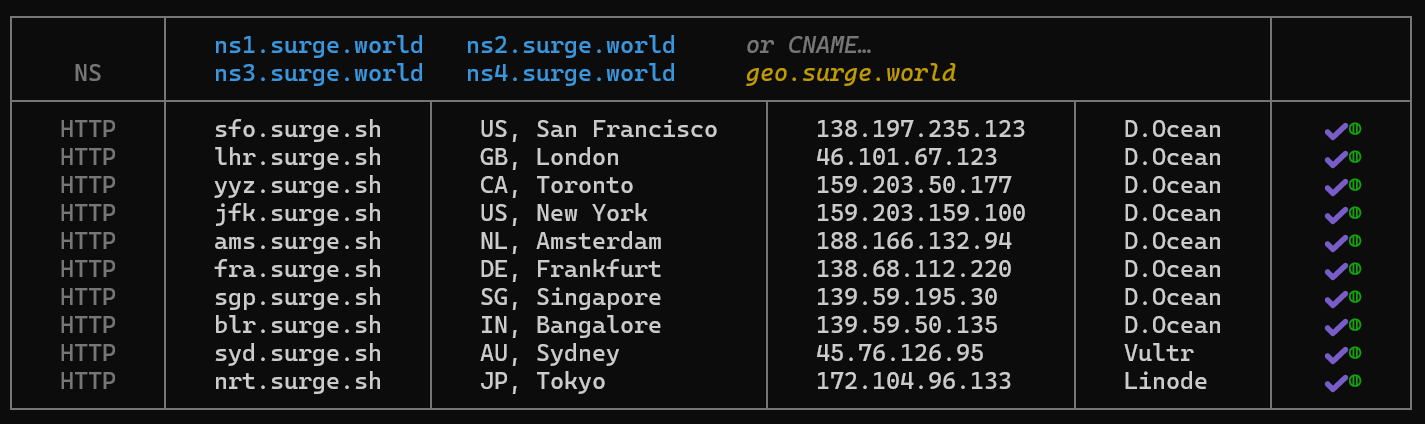
surge提供了两种方法解析你的域名,一种是CNAME记录是
na-west1.surge.sh
另一种是IP解析,地址是
45.55.110.124
解析完成后待记录生效即可访问网站了。
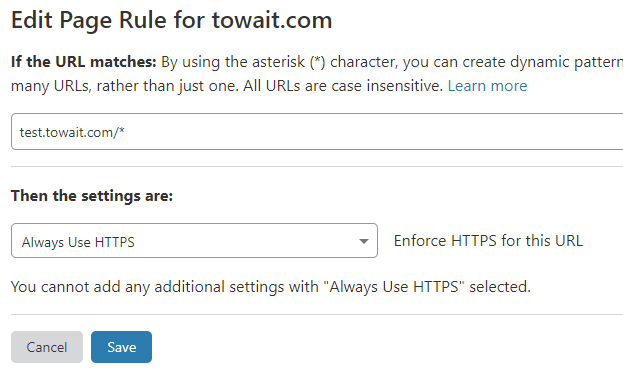
4.启用HTTPS
官方的配置SSL方法有点复杂,在这里笔者推荐使用cloudflare的免费ssl,配置也非常简单方便:
后台找到你的域名点击进入管理页面 -> Page Rules -> Create Page Rule -> Always Use HTTPS
至此,大功告成!