CloudFlare+Nginx+Directus+WebHook各种请求的安全配置
以往API请求的安全防护非常重要,通常情况一方面在服务端做好请求验证,另一方面要做到不要暴露ApiKey在公共环境中。
以下是我整理的可能会导致API请求失败的情况的诊断分析和解决方法。
CloudFlare
查看日志
CF的日志在[项目页]左侧菜单的[安全性] - [分析]中

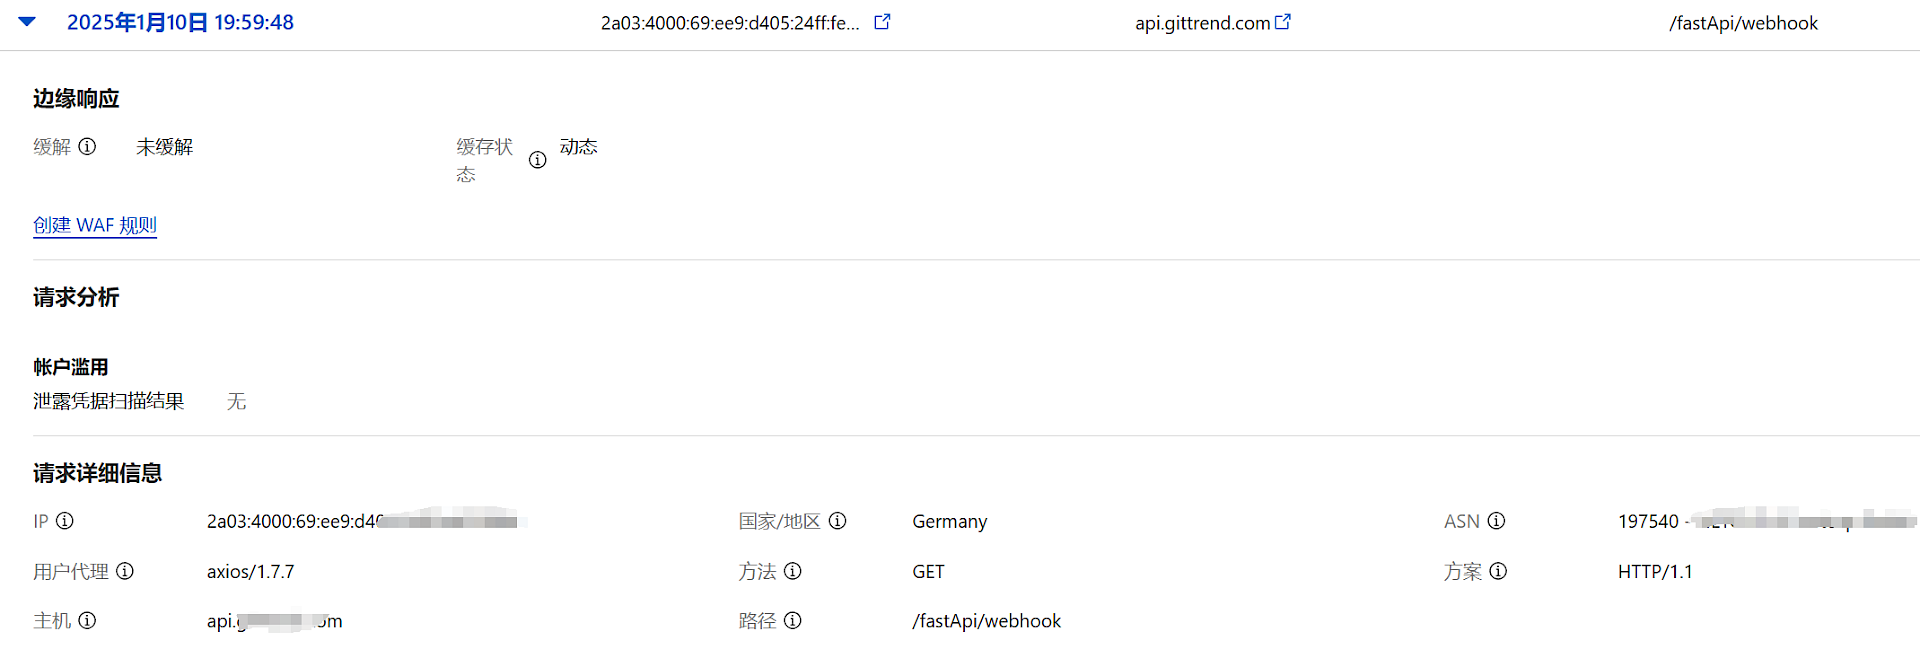
在右侧我们可以详细看到请求情况,并且可以对恶意请求发起屏蔽作用
根据IP设置通行白名单
安全性 - WAF 然后点击最右侧菜单中的 IP访问规则,该功能非常好用,绝对要给CloudFlare点个赞,如果需要屏蔽哪个国家地区的IP访问也可以在这里设置


为了防止请求频繁触发CloudFlare的防护机制,我们只需要把服务端的IP填进去即可
Nginx
CORS保护策略中,为了便于统一管理,我们需要把允许跨域的授权域名放入一个配置文件中,这样多站点也可以直接引用。
创建允许的域名配置文件
创建一个配置文件,如 /etc/nginx/cors_allowed_origins.conf,内容如下:
set $allowed_origins "https://example.com|https://sub.example.com|https://another-domain.com";
修改Nginx配置以引用配置文件
server {
    listen 80;
    server_name example.com;

    # 引入允许的域名配置
    include /etc/nginx/cors_allowed_origins.conf;

    location / {
        # 检查请求来源是否在允许的列表中
        set $origin_matched 0;
        if ($http_origin ~* ($allowed_origins)) {
            set $origin_matched 1;
        }

        # 添加跨域响应头,仅允许匹配的域名
        if ($origin_matched = 1) {
            add_header 'Access-Control-Allow-Origin' "$http_origin" always;
            add_header 'Access-Control-Allow-Methods' 'GET, POST, OPTIONS' always;
            add_header 'Access-Control-Allow-Headers' 'Authorization, Content-Type' always;
            add_header 'Access-Control-Allow-Credentials' 'true' always;
        }

        # 处理预检请求 (OPTIONS 方法)
        if ($request_method = 'OPTIONS') {
            add_header 'Access-Control-Allow-Origin' "$http_origin" always;
            add_header 'Access-Control-Allow-Methods' 'GET, POST, OPTIONS' always;
            add_header 'Access-Control-Allow-Headers' 'Authorization, Content-Type' always;
            add_header 'Access-Control-Max-Age' 3600;
            return 204;
        }

        # 代理或静态资源配置
        proxy_pass http://backend_server;
    }
}最后别忘了测试配置文件的语法并重启Nginx
sudo nginx -t         # 检查配置语法
sudo systemctl reload nginx  # 重载 Nginx 服务
配置Nginx的请求日志
为了精确的诊断项目的请求信息,我们可以独立为目标项目设置log文件,在sever{}中加入
        access_log /var/log/nginx/projectName-access.log;
        error_log /var/log/nginx/projectName-error.log warn;
这样一来我们就可以更好的了解每个请求的详细信息以便于进一步诊断和解决问题。
Directus
实时日志查看
在Node环境我一直使用pm2做node的进程守护管理,这里只写pm2的方法,使用pm2 logs AppName命令打开日志模式,这样我们可以实时查看请求的发起情况。
设置跨域授权域名
vi .env,找到参数CORS_ORIGIN的相关参数,官方文档:https://docs.directus.io/self-hosted/config-options.html#cors
# Value for the Access-Control-Allow-Origin header. Use true to match the Origin header, or provide a domain or a CSV of domains for specific access [false]
CORS_ORIGIN=false

# Value for the Access-Control-Allow-Methods header [GET,POST,PATCH,DELETE]
CORS_METHODS=GET,POST,PATCH,DELETE

# Value for the Access-Control-Allow-Headers header [Content-Type,Authorization]
CORS_ALLOWED_HEADERS=Content-Type,Authorization

# Value for the Access-Control-Expose-Headers header [Content-Range]
CORS_EXPOSED_HEADERS=Content-Range

# Whether or not to send the Access-Control-Allow-Credentials header [true]
CORS_CREDENTIALS=true

# Value for the Access-Control-Max-Age header [18000]
CORS_MAX_AGE=18000za
在CORS_ORIGIN中我们可以设置为多个请求域名,如:
CORS_ORIGIN=array:https://www.a.com,http://localhost:4321,https://b.com,https://c,https://d.com
暂且就这样,有待补充。

