使用GitHub repository和Cloudflare Pages免费部署发布Astro项目
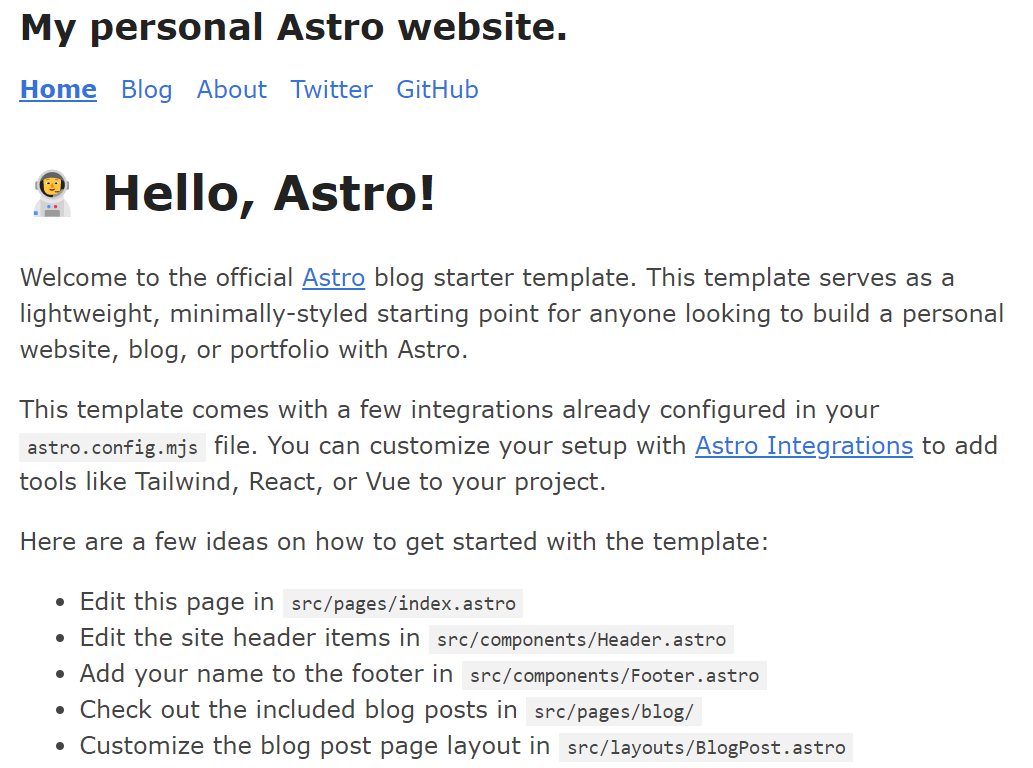
在线预览:https://astro-demo1.pages.dev/
安装Astro
使用npm create astro@latest来安装一个astro应用,这里我选择的模板是 blog
npm create astro@latest
npm WARN config global `--global`, `--local` are deprecated. Use `--location=global` instead.

 astro   v2.4.4 Launch sequence initiated.

   dir   Where should we create your new project?
         ./astro-demo

  tmpl   How would you like to start your new project?
         Use blog template
      ✔  Template copied

  deps   Install dependencies?
         Yes
      ✔  Dependencies installed

    ts   Do you plan to write TypeScript?
         Yes

   use   How strict should TypeScript be?
         Strict
      ✔  TypeScript customized

   git   Initialize a new git repository?
         Yes
      ✔  Git initialized

next Liftoff confirmed. Explore your project!更多关于astro的使用可参考开箱Astro前端框架及端口配置
准备Github Repository
首先需要一个Github账户,这个不用多说,非常简单
对于Git仓库的管理有两种选择:
#Option1 通过git命令行工具同步推送本地代码到仓库
这也是cloudflare官方写的方法,首先我们需要在Github Repository创建仓库,然后用git来推送
git init
$ git remote add origin https://github.com/<your-gh-username>/<repository-name>
git add .
$ git commit -m "Initial commit"
git branch -M main
$ git push -u origin main
可能出现的问题:
fatal: remote origin already exists.
这时候使用 git remote -v 查看远程仓库地址是否是正确的
origin  https://github.com/other-repo/some-project.git (fetch)
origin  https://github.com/other-repo/some-project.git (push)
如果 origin 的地址不正确,可以使用以下命令修改
git remote set-url origin https://github.com/yourname/your-project.git
再次运行 git remote -v 验证更改是否生效:
origin  https://github.com/yourname/your-project.git (fetch)
origin  https://github.com/yourname/your-project.git (push)
相关git命令
如果你想删除现有的 origin 并重新添加,可以执行以下命令:
移除当前远程仓库:
git remote remove origin
重新添加新的远程仓库:
git remote add origin https://github.com/kingleoric/StellarMind.gitya
验证
git remote -v
设置好远程仓库,最后推送
git push -u origin main
如果分支是 master,请替换 main 为 master。
#Option2 通过VSCode中的Source Control工具来管理
2.1 绑定git仓库账号
首先我们需要在项目目录中配置绑定git账户信息,在命令行中切换至项目目录并运行:
  git config --global user.email "[email protected]"
  git config --global user.name "Your Name"
2.2 管理与发布
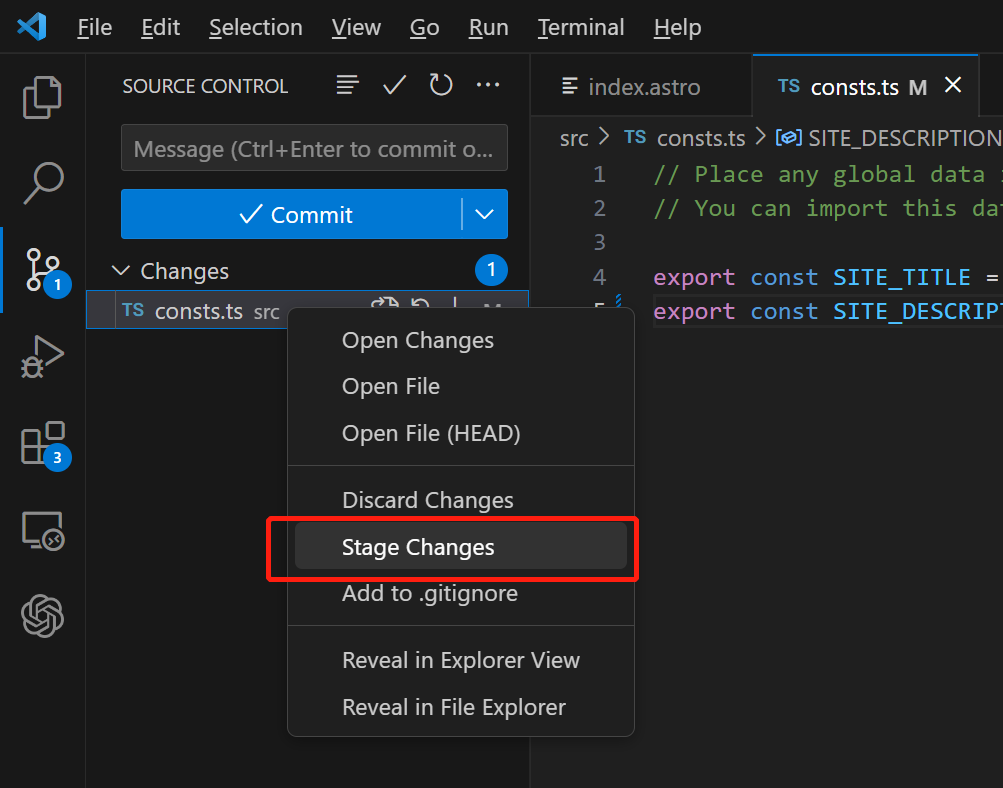
用vscode打开astro项目,切换到source control工具,把Changes中的文件选中并Stage Changes,填写Commit之后开始使用Publish Branch创建Git代码仓库
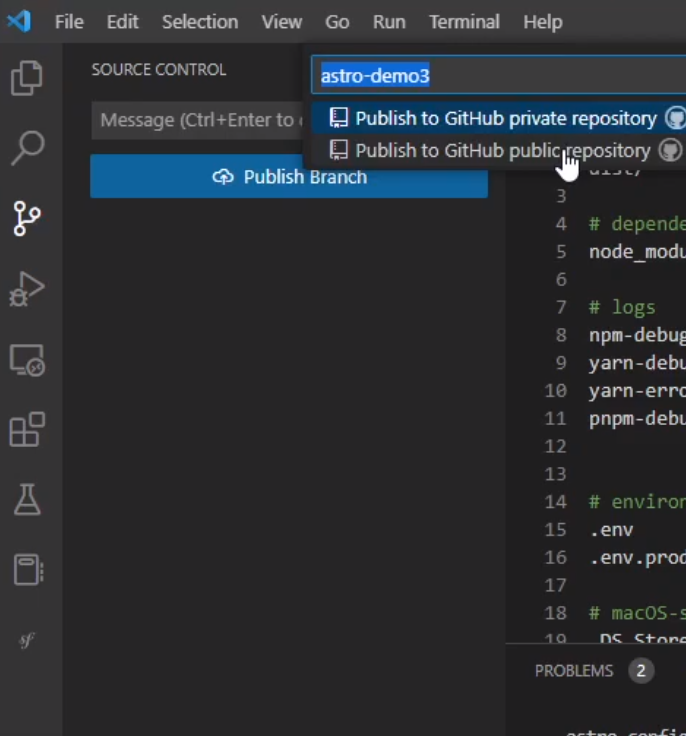
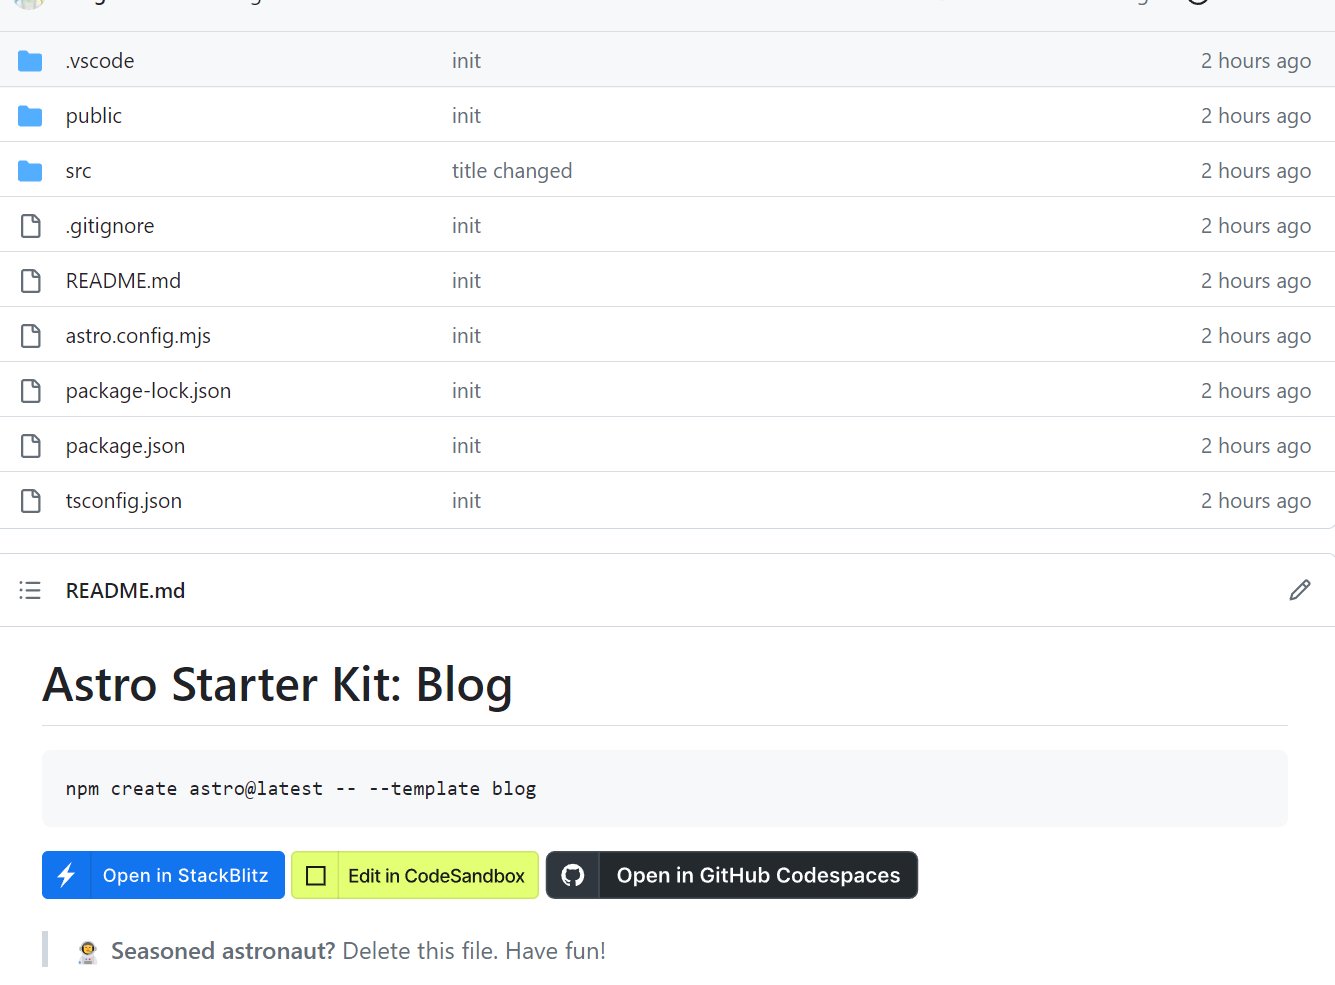
第一次发布需要Github授权账号信息,对应允许即可,发布成功后我们可以在Github中查看当前代码仓库
部署在Cloudflare Pages
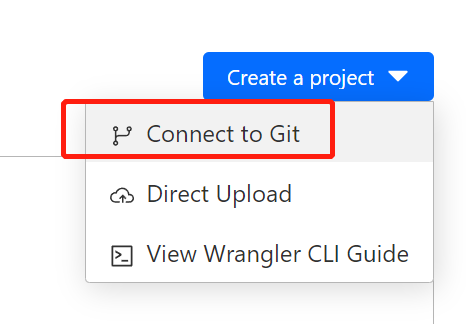
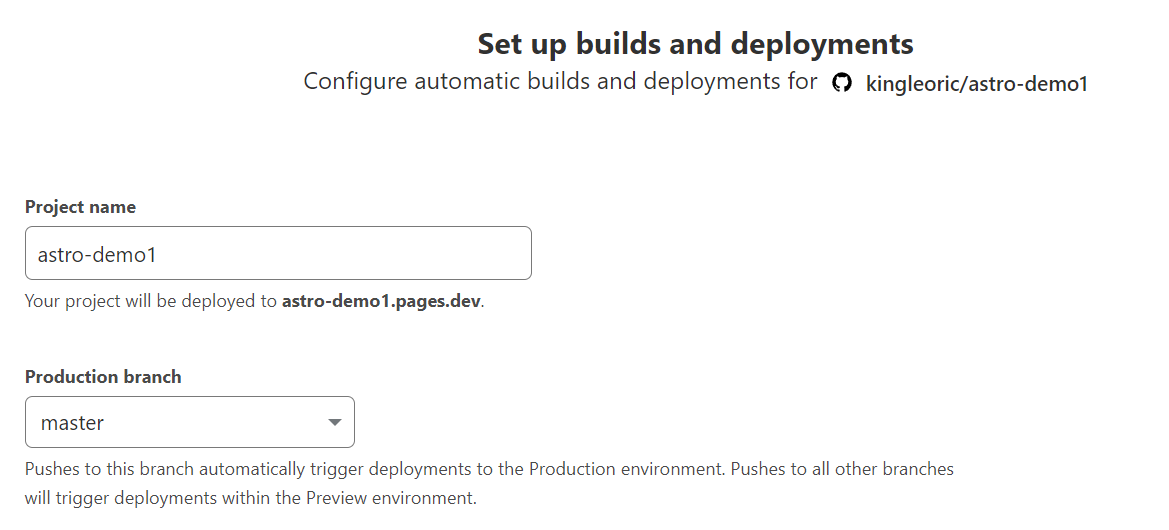
登录到Cloudflare个人中心,找到左侧Pages,然后Create a project选择connect to git,然后账号授权并选择仓库开始导入
配置运行环境
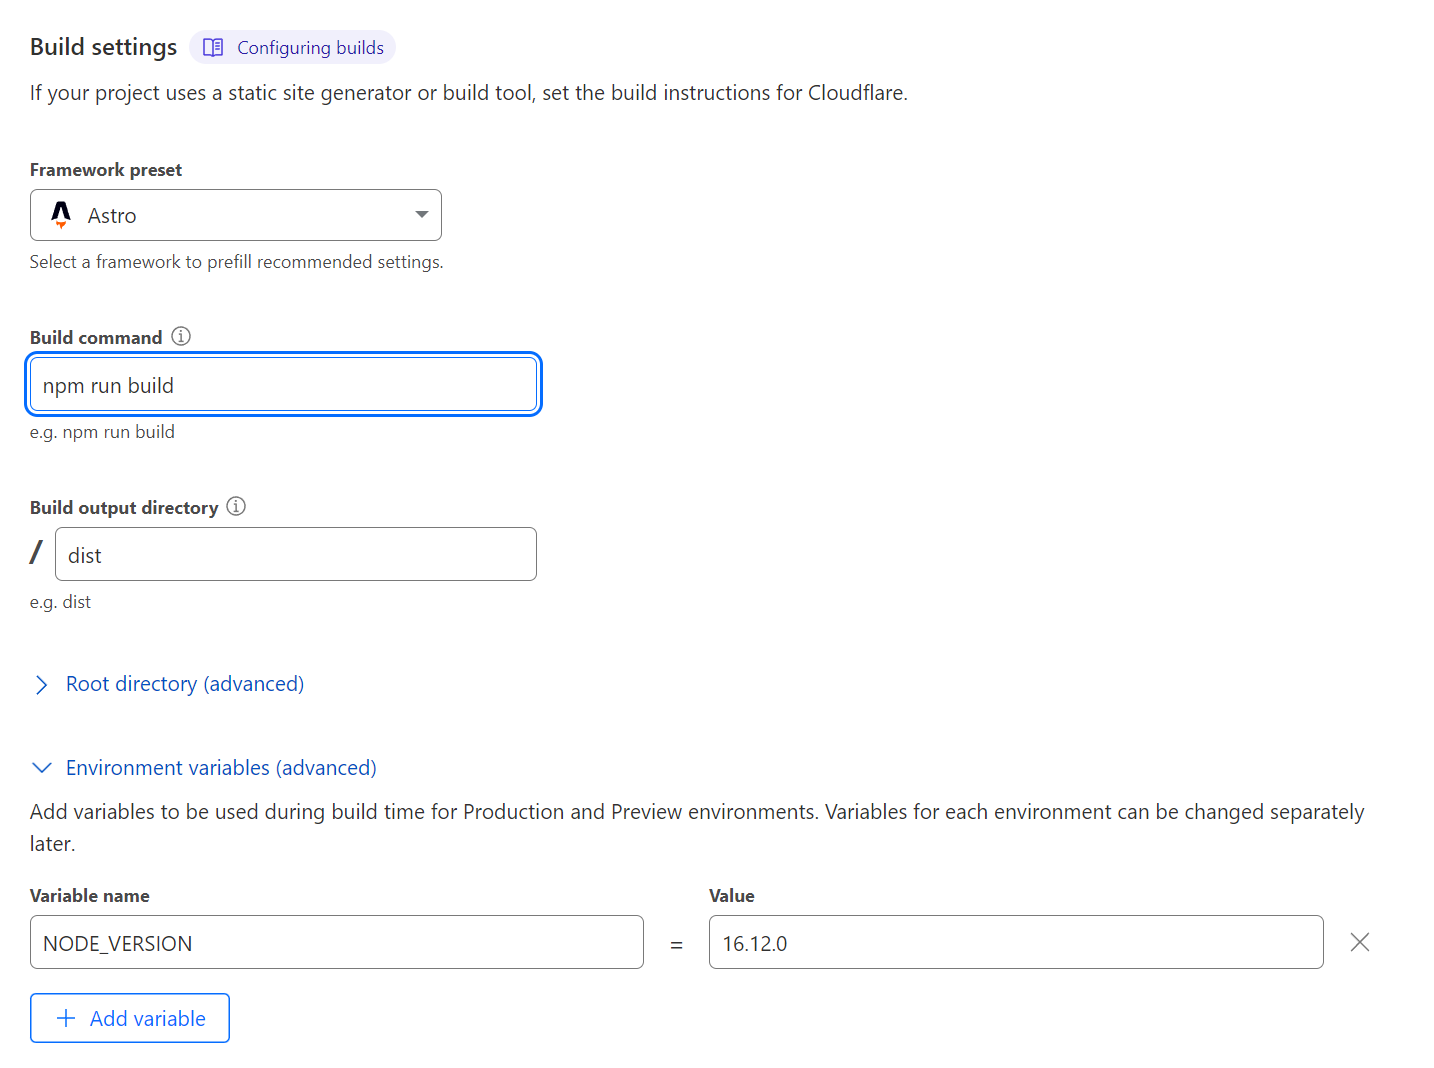
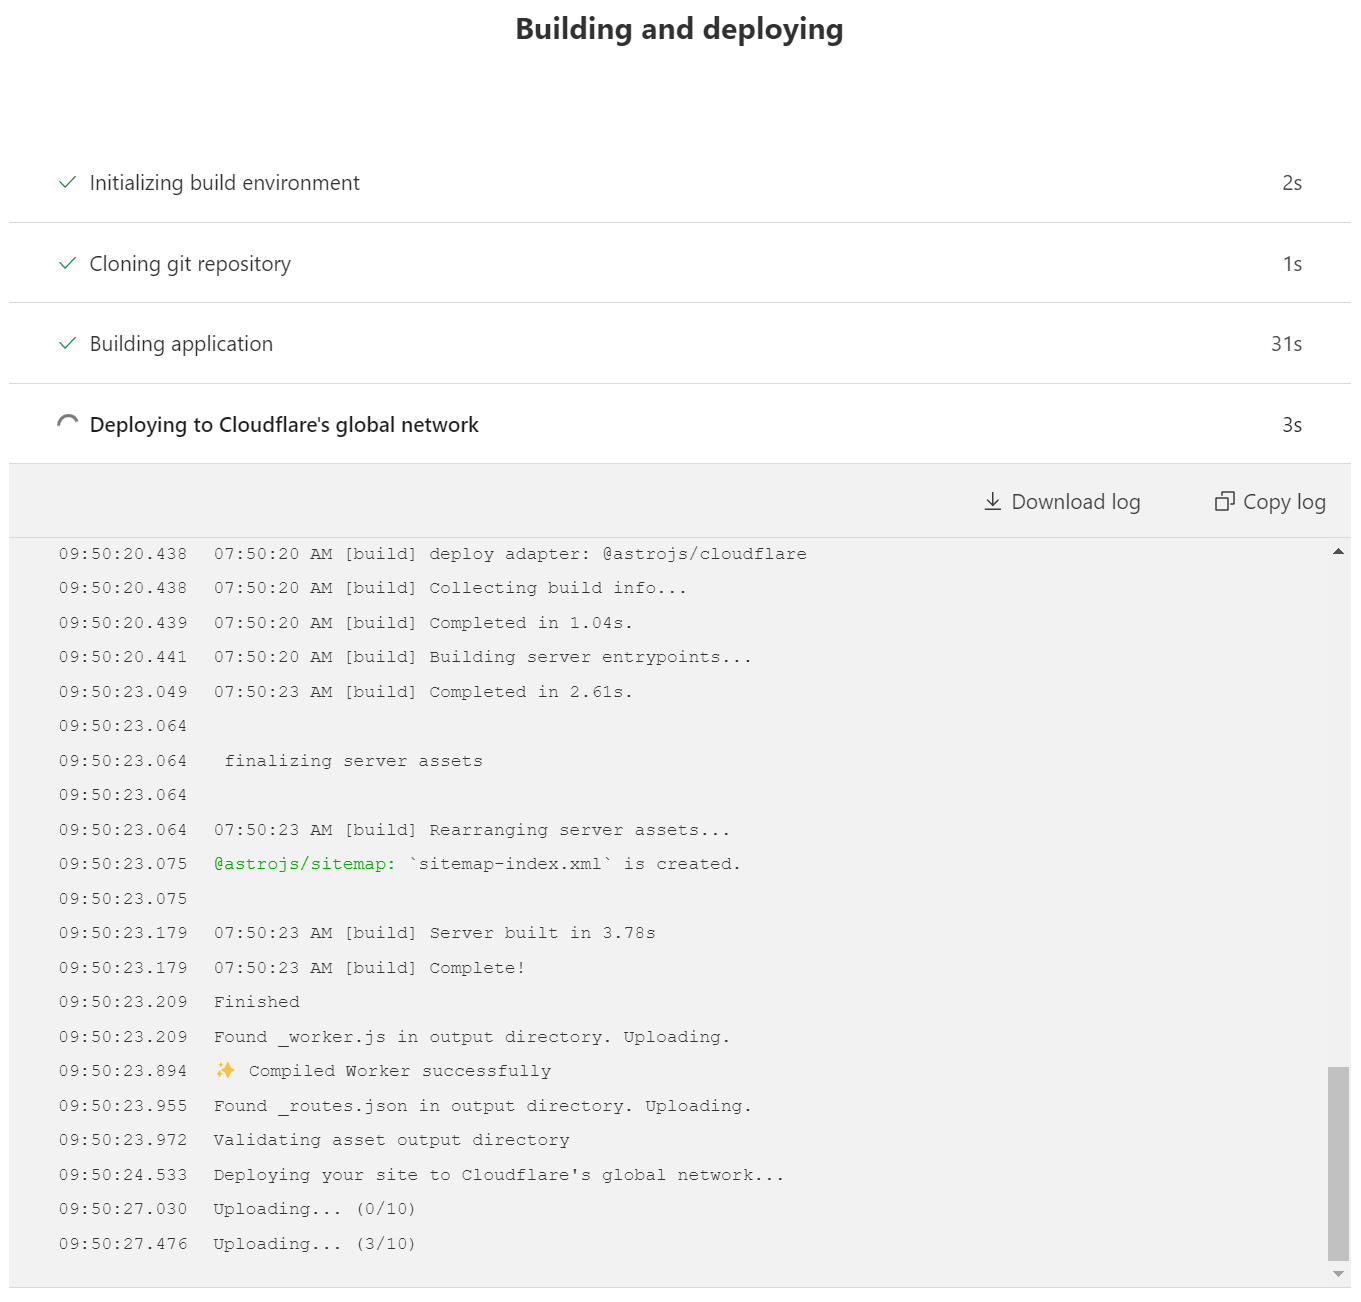
最后开始导入部署
每次我们在本地commit和发布的版本都会在这里列出来
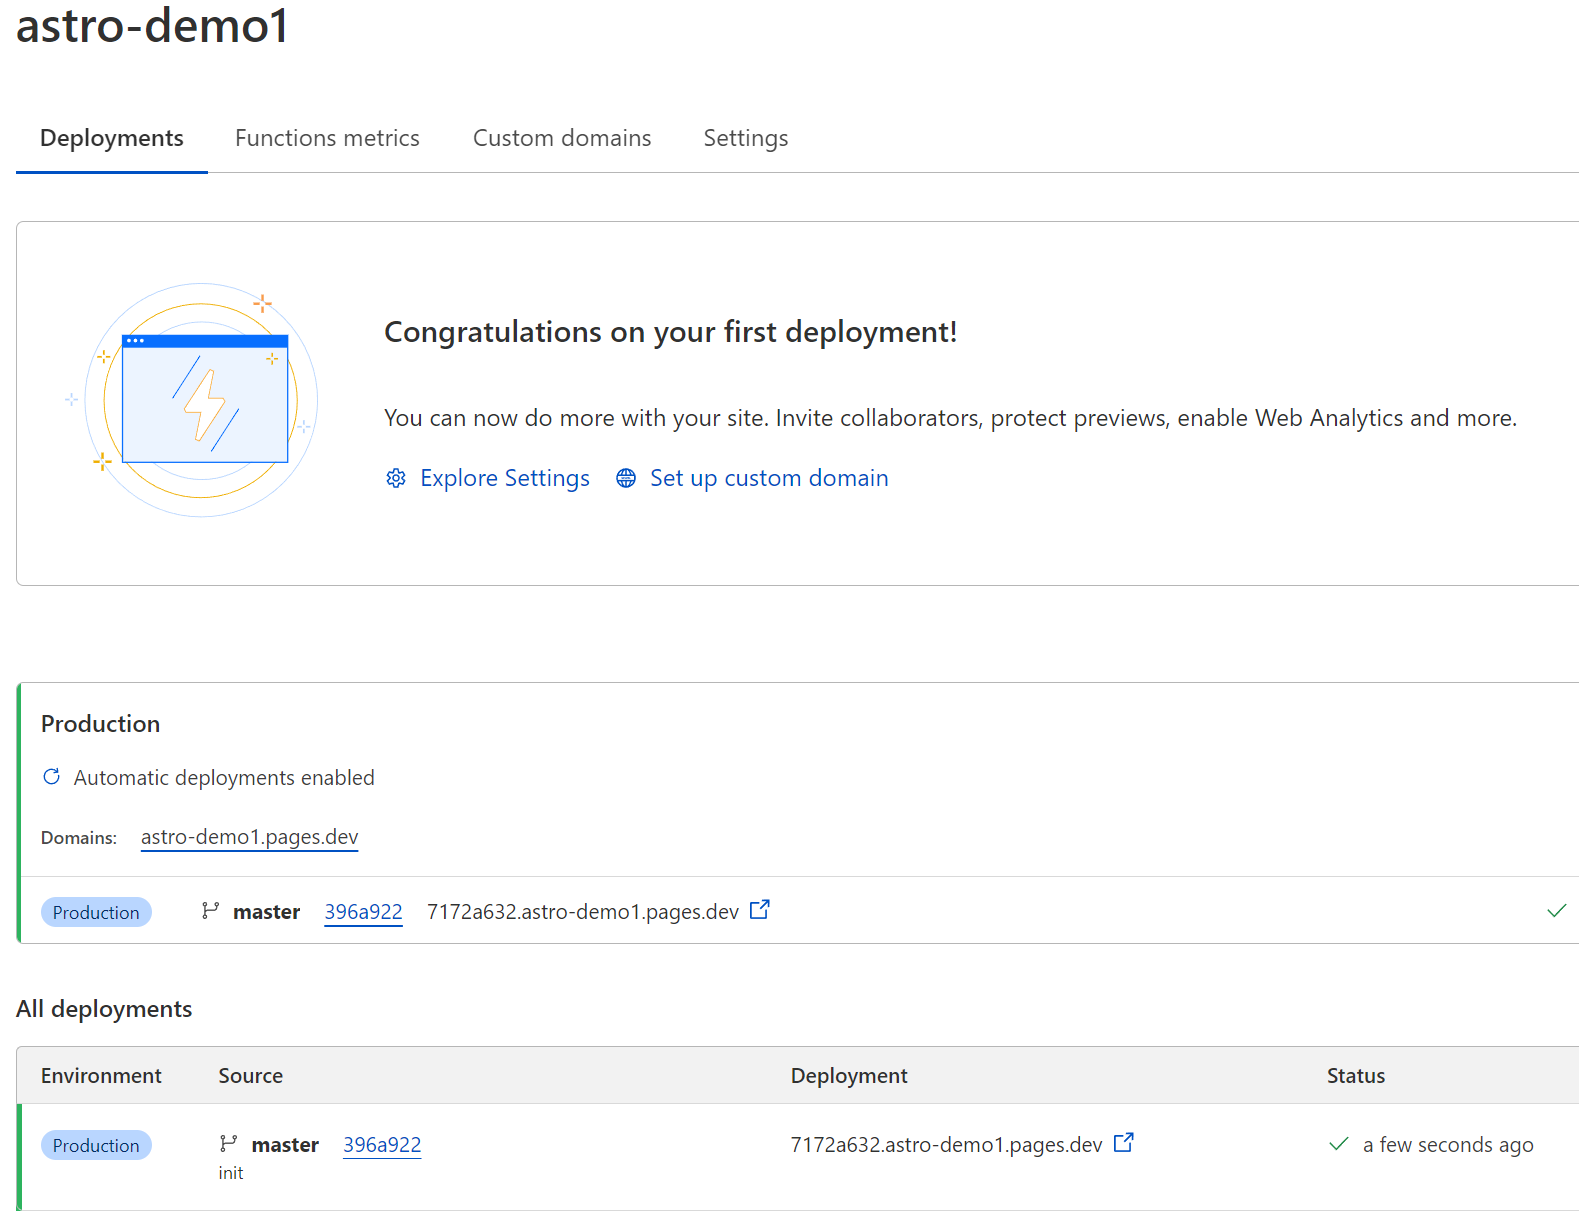
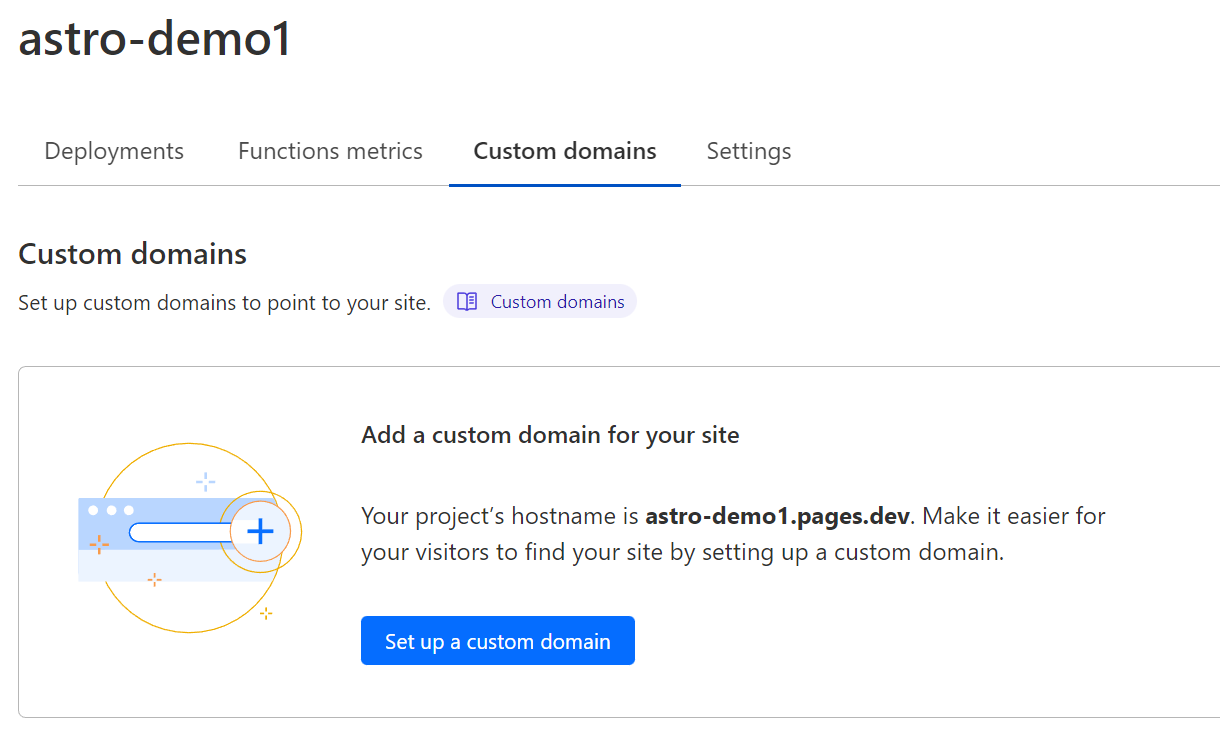
如果使用自己的域名可以在这里配置
日常管理与发布
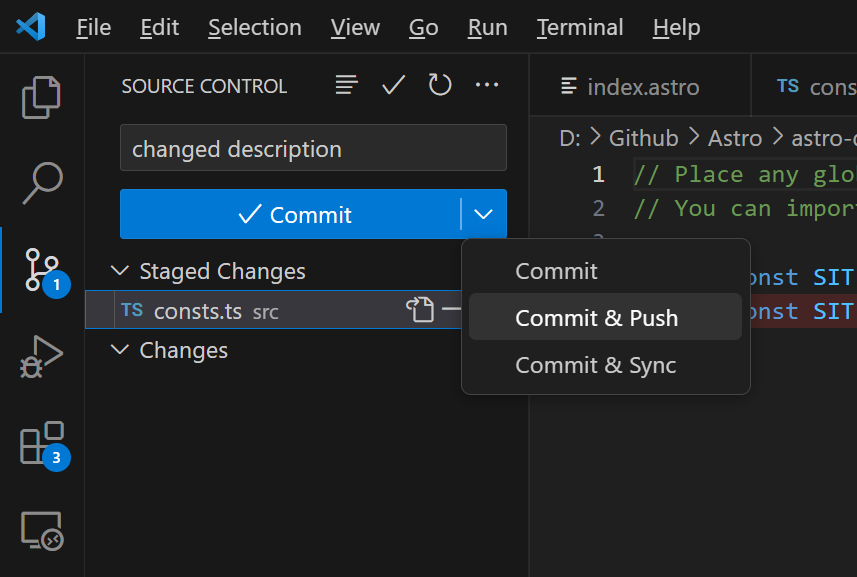
由于每次项目改动或内容的发布我们只需要同步到Git仓库,Cloudflare会自动运行npm run build命令来同步我们的项目和数据,以vscode为例
需要说明的是cloudflare免费计划中每个月有500次的构建次数(git push消耗一次),具体可参考官方说明:https://developers.cloudflare.com/pages/platform/limits/
对于小型网站我觉得绰绰有余了,但对于需要高频发布内容的网站来说就有点局促了,需要适当控制好发布频率,另外还可以考虑SSR模式,只考虑项目版本的控制发布而不考虑内容发布过度消耗资源。
有用的链接: