使用Astro创建第一个动静态混合应用
这篇内容会使用Astro实现SSG功能,并且利用了React实现一部分数据在客户端渲染。关于Astro的配置和使用请参考开箱Astro前端框架及端口配置,下面进入正题
需要安装react和tailwind的支持
yarn astro add tailwind
yarn astro add react
在继续内容之前需要自备带有数据的API,这里不做过多阐述,本文我使用了Directus创建了带有title和slug字段的内容类型
创建静态组件 PostCard
创建第一个组件/src/components/PostCard.astro
---
export interface Props {
    title: string
    slug: string
}

const { title, slug } = Astro.props;
---

<div class="flex drop-show-md max-w-sm w-full mb-5 p-5 bg-white rounded">
    <div class="mr-5">

    </div>
    <div>
        <h3 class="text-2xl font-bold">{title}</h3>
        <p class="text-md">{slug}</p>
    </div>
</div>
使用React创建动态组件 PostList
const posts = await fetch('https://app.towait.com/items/page_translations').then((response) =>
    response.json()
);

const PostList = () => {
    return (
        <div>
            {posts.data.map((post) => (<div key={post.id}>{post.title}</div>))}
        </div>
    )
}

export default PostList;
组件的静态与动态调用
在首页/src/pages/index.astro中调用该组件
---
import Layout from '../layouts/Layout.astro';
import PostCard from '../components/PostCard.astro';
import PostList from '../components/PostList.jsx';

const response = await fetch('https://app.towait.com/items/page_translations');
const posts = await response.json();
---

<Layout title="Hello world">
	<main class="max-w-[1024px] mx-auto py-10 flex justify-between">
		<div>
			{posts.data.map((post) => (<PostCard title={post.title} slug={post.slug} />))}
		</div>
		<div>
			<PostList client:load />
		</div>
	</main>
</Layout>

<style>
	:root {
		--astro-gradient: linear-gradient(0deg, #4f39fa, #da62c4);
	}

	h1 {
		margin: 2rem 0;
	}

	main {
		margin: auto;
		padding: 1em;
		max-width: 60ch;
	}

	.text-gradient {
		font-weight: 900;
		background-image: var(--astro-gradient);
		-webkit-background-clip: text;
		-webkit-text-fill-color: transparent;
		background-size: 100% 200%;
		background-position-y: 100%;
		border-radius: 0.4rem;
		animation: pulse 4s ease-in-out infinite;
	}

	@keyframes pulse {
		0%,
		100% {
			background-position-y: 0%;
		}
		50% {
			background-position-y: 80%;
		}
	}

	.instructions {
		line-height: 1.6;
		margin: 1rem 0;
		background: #4f39fa;
		padding: 1rem;
		border-radius: 0.4rem;
		color: var(--color-bg);
	}

	.instructions code {
		font-size: 0.875em;
		border: 0.1em solid var(--color-border);
		border-radius: 4px;
		padding: 0.15em 0.25em;
	}

	.link-card-grid {
		display: grid;
		grid-template-columns: repeat(auto-fit, minmax(24ch, 1fr));
		gap: 1rem;
		padding: 0;
	}
</style>注意<PostList client:load />中的客户端渲染的参数client:load
最终效果
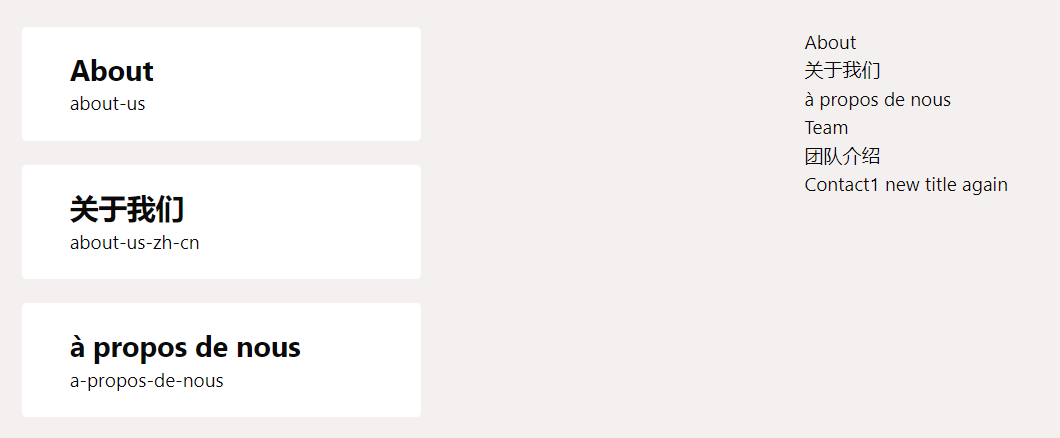
在build之后左侧内容为静态内容由服务端生成静态文件,右侧内容为动态内容由客户端渲染